-
 09 August 2019
-
 Reading time: 7 minutes
-
 Victor Domingos
-
 Tutorials
This is the tutorial I wish I had around some years ago, when I first tried to learn how to use Vim. If you’re just beginning to know this amazing text editor, please keep reading, I am writing this tutorial right for you!
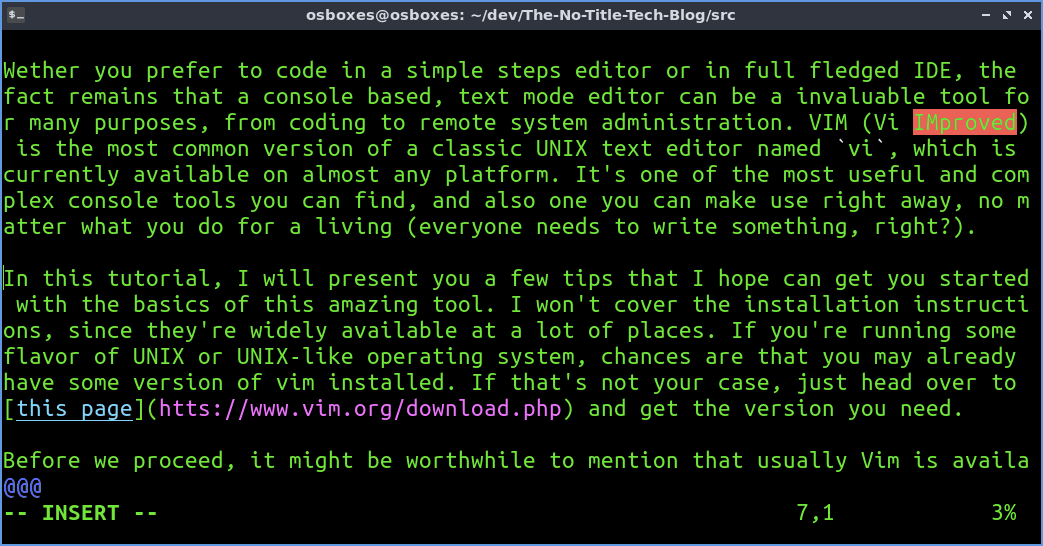
Whether you prefer to code in a simple steps editor or in full fledged IDE, the fact remains that a console based, text mode editor can be a invaluable tool for many purposes, from coding to remote system administration. VIM (Vi IMproved) is the most common version of a classic UNIX text editor named vi, which is currently available on almost any platform. It’s one of the most useful and complex console tools you can find, and also one you can make use right away, no matter what you do for a living (everyone needs to write something, right?).
In this tutorial, I will present you a few tips that I hope can get you started with the basics of this amazing tool. I won’t cover the installation instructions, since they’re widely available at a lot of places. If you’re running some flavor of UNIX or UNIX-like operating system, chances are that you may already have some version of vim installed. If that’s not your case, just head over to this page and get the version you need.
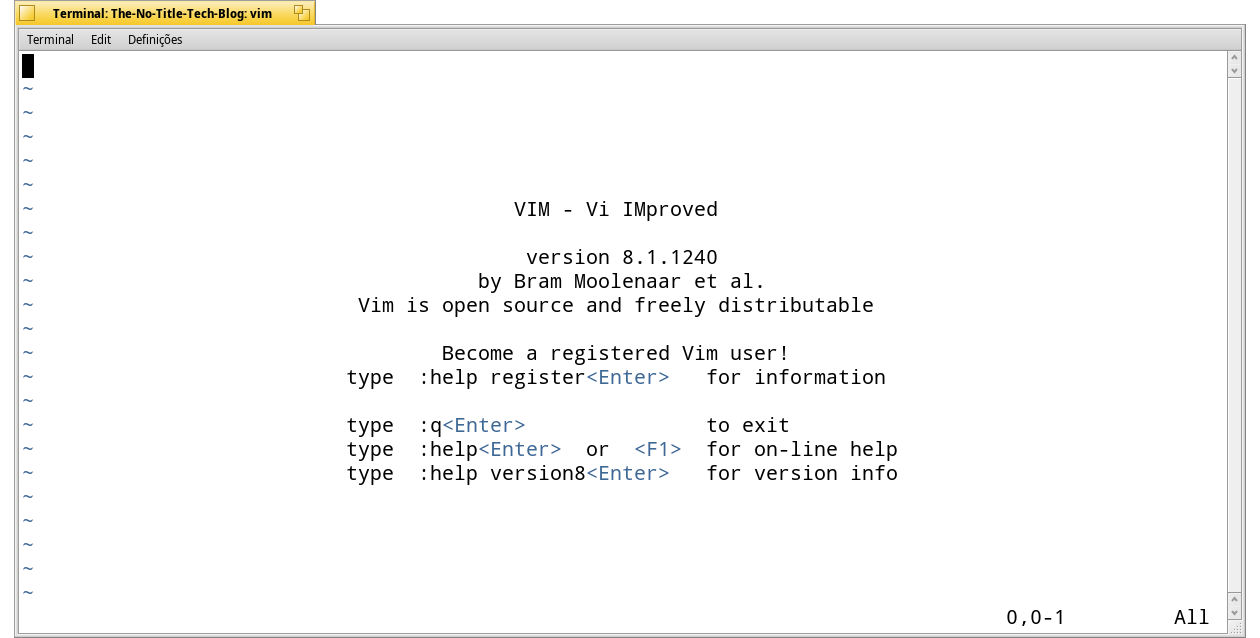
Before we proceed, it might be worthwhile to mention that usually Vim is available in a command-line shell (especially useful if you’re accessing remotely through ssh to adjust something in a server or something like that), but there are some versions that may run in a separate window if you prefer so. Choose as you like.
What is a modal text editor? What are those modes?
Vim is frequently referred to as a modal text editor, meaning that keyboard shortcuts will correspond to different actions, depending on the mode that is selected at each time. Whenever you press ESC you will get into Normal Mode. This is a mode where you may press some keys to move around or perform actions, but where you’re not supposed to be writing. To start writing, you need to press i to enter Insert Mode (in case for some reason you’re not in Normal Mode, you will need to press ESC first, and this is a pattern that you will face more times). There are more modes, as you will find out in the following sections.
How to open or to create a new file?
My favorite way to open an existing file or to create a new file in Vim is to start Vim from the command line, adding the path to the file as an argument, like this:
1 | |
If the file exists, it will open it in Vim. If it doesn’t, Vim will start a new draft for you.
But in case you’re already inside Vim and want to open a file without exiting the application, you can press ESC and then write the following command:
1 | |
Please notice the presence of a colon at the beginning of the command. It is needed there, and you will also find a lot of these. By pressing ESC : you are entering Command-Line Mode.
How to save a file to disk? How to get out of Vim?
Now that you have created a file, then you entered Insert Mode and then you have written some text, you can save it by entering Command-Line Mode (ESC :) and using the command :w. You may specify the file name using :w filename.txt. Also, if you are editing an existing file and just want to save some changes you made and quit vim, you can write and quit in a single step using :wq.
If you just want to quit vim, as you at have guessed by now, you will use the command :q. If you have unsaved changes that you want to discard, you may ignore them and exit Vim without saving, using :q!.
How to navigate through the text using the keyboard?
If you are in Insert Mode, you can move around using the arrow keys in the keyboard. But if you’re in Normal Mode, you may get used to an alternative set of movement keys that don’t require moving your hands away from their primary typing position:
1. Basic movement
k- upj- downh- leftl(lowercase L) - right
2. Moving by jumping one word at a time
w- one word forwardb- one word backwarde- end of next word
3. Jumping writhing the same line
^- beginning of line$- end of line
4. Scrolling and jumping to other lines
CTRL-U- Scroll upCTRL-D- Scroll downgg(two times lowercase g) - beginning of fileG(uppercase G) - end of file
Also, if you’re debugging a program, you may need to jump directly to a line by its number. You can do it in two ways. For example: 123G or :123 (jumping to line number 123).
There are a few more cursor movement commands (Vim is really a very complex tool), but with these you should be ready to go.
How to select, copy, cut and paste text in VIM?
Let’s suppose you need to select a section of text and copy it or move it to other position. One way you can do it is by entering Visual Line Mode by pressing ESC followed by V (uppercase V, or shift V). This command selects whole lines. You can move the cursor up or down and more lines can be selected that way. Then you have two options:
y- “yank”, which Vim users’ dialect means “copy”.d- “delete”, which in that dialect means “cut”.
After pressing one of those two keys, you just need to move the cursor and, to paste the text section just press p. The text will be placed after the cursor.

You may also do a manual selection, character by character, instead of line by line. For that purpose, you must do the same, with the single difference of pressing lowercase v instead of uppercase. This will put Vim into Visual Mode, which means you may define a selection by moving the cursor around one character at a time, therefore allowing for more precise selections. The rest of the process is the same.
You can even combine these commands to perform a quick “select all” action: ggVG. The gg part moves the cursor to the beginning of the file, V changes to Visual Line Mode, G moves the cursor to the end of the file, while selecting all the lines.
Finally, if all you want is to delete or move a single line, there is a nice command for that, which is dd. You just press dd and the current line disappears. You may discard it or paste it in another position, as you wish.
How to undo and redo changes in VIM?
Last but not least, sooner or later you will certainly find yourself in a situation where you need to undo some change you did. While using Vim, forget about Control Z. These are the two commands you need to know:
u- Undo.CTRL - r- Redo.
As simple as that.
Where to go next
Vim is such a powerful and complex tool that you may spend decades learning how to do more stuff with it. And there always something more. But don’t worry. You can make use of it just using the basic set of commands that I have selected for this tutorial. But once you get the hang of it, you may want to adapt it for you specific use case, or learn other ways to make it more efficient for you. I plan to write one or two new articles about Vim, so please stay tuned.
For now, just keep in you mind that Vim has got you covered, and that there’s a lot it can do, either by itself, or by adding plugins that extend its functionality. It’s a nice and powerful text editor to have in your tool chain, and who knows, maybe you will soon get to use it frequently.
You may also be interested:
|
Searching and replacing text on long files with Vim |
|
Converting Base64 strings to files without writing code |
|
Quick tip – How to quickly read just the last lines of a huge text file |
Recently
 WEBP and drag and drop"> WEBP and drag and drop">
|
Optimize Images X now supports WEBP and drag and drop |
|
Just updated - Optimize Images v2.1.0 |
|
Just updated - both Optimize Images and Optimize Images X |